How to Make Hawaiian Shaved Ice at Home + Easy DIY Organic Fruit Syrups Recipe
As a mom, I love keeping things fun and fresh for the family, especially when it comes to treats like Hawaiian shaved ice. And while store-bought syrups are convenient, sometimes I like to go the extra mile and make my own fruit syrups at home—especially when I want something organic and free from artificial ingredients.
In this post, I’ll walk you through making Hawaiian shaved ice at home, plus share my favorite DIY organic fruit syrup recipe that’s super easy and bursting with flavor. Your kids will love it, and you’ll feel great knowing exactly what’s in their treats!
What You’ll Need to Make Hawaiian Shaved Ice
- Shaved Ice Machine
- Ice Cubes
- Homemade Organic Fruit Syrups (recipe below)
- Reusable or Disposable Cups
- Toppings (Optional)
How to Make Your Own Organic Fruit Syrups
Homemade fruit syrups are a fantastic way to use up ripe fruit, and they taste so much fresher than anything from the store. Plus, you can adjust the sweetness to your liking and avoid any added preservatives or artificial colors.
Basic Organic Fruit Syrup Recipe
You can use almost any fruit to make syrup, but some of the most popular flavors for shaved ice include strawberry, mango, pineapple, and blueberry. This recipe is adaptable, so feel free to mix and match fruits!
Ingredients:
– 1 cup fresh or frozen organic fruit (strawberries, blueberries, mangoes, etc.)
Optional: canned peaches or pineapple also work
– ½ cup water
– ½ cup organic cane sugar (or honey for a healthier option)
– 1 tablespoon lemon juice (optional, helps preserve freshness and adds a hint of tang)
Instructions:
- Prep the Fruit: If you’re using fresh fruit, wash and chop it into small pieces. Frozen fruit works just as well, and it’s super convenient!
- Cook the Syrup: In a small saucepan, combine the fruit, water, and sugar (or honey). Bring the mixture to a boil over medium heat, then reduce to a simmer. Stir occasionally, letting it simmer for about 10-15 minutes, or until the fruit has broken down and the mixture has thickened slightly.
- Strain the Syrup: Once the syrup has cooked down, remove it from the heat. For a smooth syrup, strain it through a fine mesh sieve or cheesecloth to remove any seeds or pulp. If you prefer a chunkier syrup, you can leave it as is!
- Add Lemon Juice: Stir in the lemon juice if using. This helps preserve the syrup and enhances the flavor.
- Cool and Store: Let the syrup cool completely, then transfer it to a clean glass jar or bottle. Store in the fridge for up to two weeks.

How to Make Hawaiian Shaved Ice with Homemade Syrup
Now that you’ve made your organic syrup, it’s time to use it! Follow these simple steps:
- Shave the Ice: Use your shaved ice machine to create a fluffy pile of ice. I recommend the Hawaiian Shaved Ice S900A Shaved Ice Machine for a soft, snow-like texture.
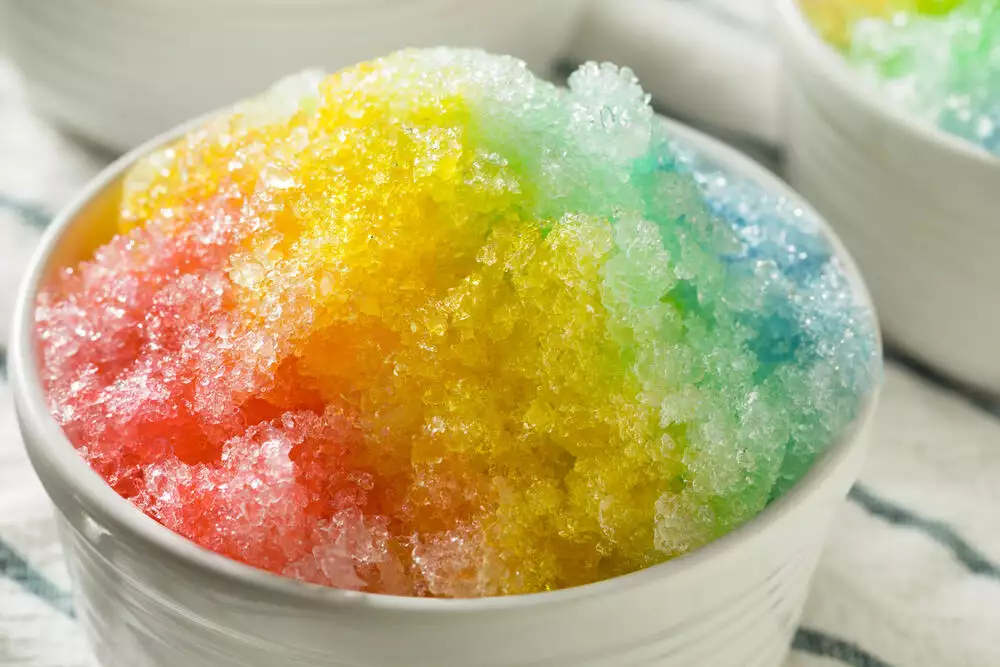
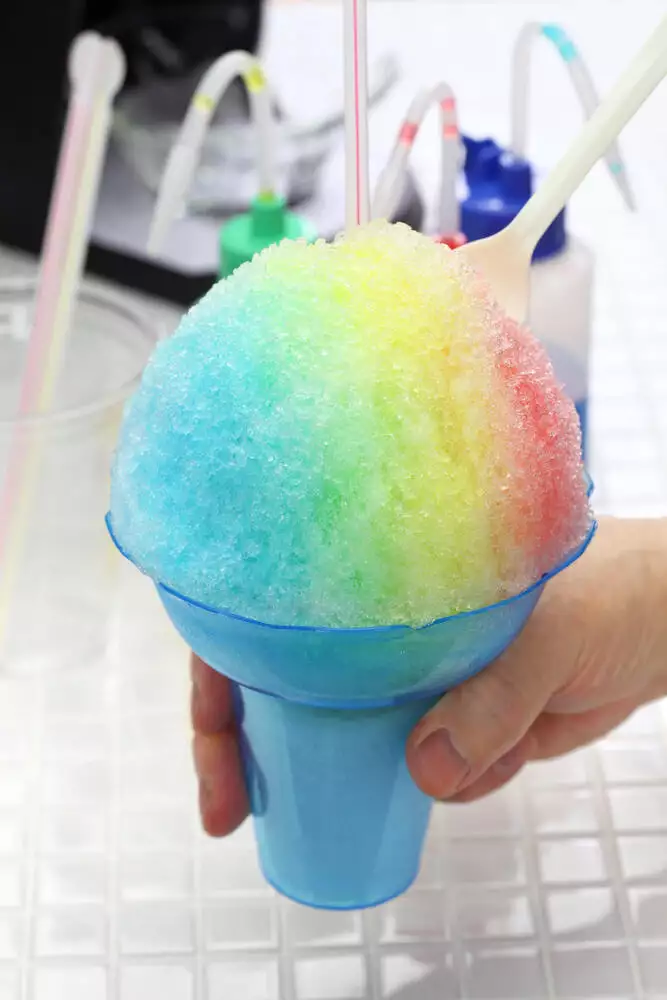
- Drizzle with Syrup: Pour your homemade fruit syrup generously over the ice. You can mix different syrups to create a rainbow effect or stick to one flavor.
- Add Toppings: If you want to go all out, add toppings like fresh fruit slices or a drizzle of sweetened condensed milk.
- Enjoy: Serve immediately and enjoy a refreshing, naturally sweet treat!
Other Flavor Ideas for Homemade Organic Syrups
If you want to get creative, try making these other fun flavors at home:
– Organic Blueberry-Lavender Syrup: Add a teaspoon of dried lavender to the syrup while it’s simmering for a floral twist.
– Organic Pineapple-Mango Syrup: Combine fresh pineapple and mango for a tropical vibe.
– Organic Raspberry-Lemon Syrup: The tartness of raspberries pairs perfectly with a touch of lemon juice.

1. Invest in a Shaved Ice Machine
To get that signature fluffy ice, you’ll need a high-quality shaved ice machine. I know there are budget-friendly options, and also higher-end ones, depending on how serious you are about your shaved ice game.
Budget Option: Nostalgia Shaved Ice & Snow Cone Machine
Check it out on Amazon
⭐️⭐️⭐️⭐️ | 4.3 stars | 3,500+ reviews
This little machine is a workhorse for its price! It’s affordable, compact, and gets the job done. The ice isn’t quite as fluffy as you’d get with a professional machine, but it’s a great starter option, especially if you’re making shaved ice for kids.
Upgrade Option: Hawaiian Shaved Ice S900A Shaved Ice and Snow Cone Machine
Check it out on Amazon
⭐️⭐️⭐️⭐️ | 4.6 stars | 13,000+ reviews
This is the machine I personally use, and it’s amazing! It shaves ice so finely that it feels like snow in your mouth. It’s compact, easy to use, and comes with ice molds that help create the perfect consistency. Plus, the sleek design looks nice on the kitchen counter!
Splurge Option: Little Snowie Max Premium Shaved Ice Machine
Check it out on Amazon
⭐️⭐️⭐️⭐️⭐️ | 4.8 stars | 8,000+ reviews
If you want to go all out, this machine is as close to the real deal as you’ll get without a trip to Hawaii! It’s fast, efficient, and makes the softest, fluffiest shaved ice. After a trip to Hawaii, our kids were missing shaved ice so one year, we got this for them as a birthday treat and the kids and I love using it for family get-togethers, a treat for his sports team, and it’s a showstopper at birthday parties. Just one suggestion, put on some over ear headphones before turning it on, because it gets loud!
2. Choose Your Syrups
The flavored syrup is where the fun comes in! You can find tons of different flavors, from classic strawberry to exotic passion fruit. Some brands even offer sugar-free options.
Budget-Friendly Option: Hawaiian Shaved Ice Syrup 3-Pack
Check it out on Amazon
⭐️⭐️⭐️⭐️ | 4.7 stars | 18,000+ reviews
This is a fantastic starter pack that includes three crowd-pleasing flavors: Cherry, Blue Raspberry, and Grape. The flavors are vibrant and perfectly sweet—not too overwhelming.
Upgrade Option: Torani Syrup Variety Pack
Check it out on Amazon
⭐️⭐️⭐️⭐️ | 4.8 stars | 5,000+ reviews
Torani syrups are known for their rich flavors, and they come in so many varieties! This 4-pack includes Raspberry, Strawberry, Peach, and Passion Fruit. They’re perfect for experimenting with more “grown-up” flavor combinations, too.
Health-Conscious Option: Amoretti Premium Syrup, Sugar-Free 3-Pack
Check it out on Amazon
⭐️⭐️⭐️⭐️ | 4.6 stars | 2,500+ reviews
For those looking to cut back on sugar, this pack is a great alternative. Amoretti syrups have rich, authentic flavors without the guilt.
3. Pick the Perfect Cups
While you can use any regular cup, it’s more fun to serve your shaved ice in something festive!
Budget Option: Amscan Disposable Paper Snow Cone Cups
Check it out on Amazon
⭐️⭐️⭐️⭐️ | 4.5 stars | 1,200+ reviews
These classic cone-shaped cups are perfect for parties. They’re disposable, so there’s no cleanup afterward!
Reusable Option: Hawaiian Shaved Ice Reusable Cups
Check it out on Amazon
⭐️⭐️⭐️⭐️⭐️ | 4.8 stars | 1,000+ reviews
I love these! Not only are they colorful and fun, but they’re reusable and come with matching straws and spoons, which is great for the environment. My kids always pick their favorite color when we have shaved ice nights.
Making Hawaiian shaved ice at home is such a fun and easy way to bring some tropical joy into your day. And with homemade organic fruit syrups, you can enjoy the sweet flavors without any of the artificial ingredients. It’s a treat that the whole family will love, and it’s perfect for warm days, special celebrations, or even just as a weekend surprise!
Try making your own organic syrups, experiment with flavors, and watch your kids’ faces light up as they dig into this sweet, fluffy treat. Trust me—once you start, it’ll become a regular summer tradition in your home!
Affiliate Disclosure: As an Amazon Associate, I earn from qualifying purchases at no extra cost to you.

Homemade Sugar-Free Condensed Milk with Coconut Cream
If you’re looking for a healthier, dairy-free alternative to traditional sweetened condensed milk, you’ll love this sugar-free version made with coconut cream. It’s rich, creamy, and naturally sweet without any refined sugars, making it perfect for everything from Hawaiian shaved ice to coffee and desserts!
This recipe is also vegan and low-carb, so it’s great for those following a special diet or just trying to cut down on sugar.
Ingredients:
– 1 can (13.5 oz) full-fat coconut cream (or coconut milk, but coconut cream will give you a thicker consistency)
– 2-3 tablespoons of your preferred sugar substitute (monk fruit sweetener, stevia, or erythritol)
– 1 teaspoon vanilla extract (optional, for added flavor)
– Pinch of salt (optional, to balance the sweetness)
Instructions:
- Combine Ingredients: In a small saucepan, pour in the coconut cream. If you’re using coconut milk, make sure to use the thick, creamy part and discard any excess liquid. Add your sugar substitute and stir well to combine.
- Heat on Low: Set the saucepan over low heat. Stir the mixture constantly as it heats up, making sure that the sweetener dissolves completely into the coconut cream.
- Simmer and Reduce: Once the mixture begins to steam (but not boil), reduce the heat to a very low simmer. Allow it to cook for about 30-45 minutes, stirring occasionally. The mixture will gradually thicken as the liquid evaporates.
- Check for Thickness: The condensed milk is ready when it has reduced by about half and has a thick, syrupy consistency. It should coat the back of a spoon. Keep in mind it will thicken further as it cools.
- Add Vanilla and Salt (optional): Once the mixture reaches the desired consistency, stir in the vanilla extract and a pinch of salt if using. These are optional but add great flavor depth.
- Cool and Store: Remove the saucepan from the heat and allow the condensed milk to cool. Once cooled, transfer it to an airtight container or glass jar. It will keep in the fridge for up to 1 week.

Tips:
– For thicker condensed milk: If you want it extra thick, you can let it simmer a little longer until it reaches your preferred consistency.
– Make it sugar-free: Choose a sugar substitute like monk fruit sweetener, erythritol, or liquid stevia to keep it sugar-free and low-carb. Adjust the sweetness to your taste!
Uses for Coconut Cream Condensed Milk
This dairy-free, sugar-free condensed milk can be used just like the traditional version! Some ideas include:
– Drizzling over shaved ice: Add it to your Hawaiian shaved ice for a creamy, tropical touch.
– In desserts: Use it in recipes like key lime pie, fudge, or as a layer in no-bake cheesecakes.
– In beverages: Stir it into iced coffee, tea, or smoothies for extra creaminess and natural sweetness.
This easy sugar-free condensed milk made with coconut cream is a fantastic healthier alternative, and it’s super versatile! I love keeping a jar in the fridge to use as a dairy-free treat in so many recipes. Enjoy!


This looks so good!!