With a manicure set, you can get a professional looking manicure at home without the expense of a trip to the nail salon. However, with all of the tools that come in a manicure set, you may find yourself realizing there’s more to a manicure than just putting on some nail polish. All of the tools are designed to care for and polish your nails and groom the surrounding skin to make your nails and hands look attractive and healthy.
Step 1
Use the manicure set on only yourself rather than sharing it with friends or family. Many tools in an at-home manicure set cannot be disinfected and sharing the kit can spread infections.
Step 2
Wash your hands with soap and water before doing your manicure. Use a fingernail brush to scrub under your nails.
Step 3
Trim your nails to the desired length with the nail clippers or nail scissors. If you have thin nails, you may prefer the nail scissors. Also, clip the nails in the general shape that you want, such as rounded or square, to make filing your nails easier.
Step 4
Push back your cuticles with the cuticle stick. This is the small wooden stick with a flattened end. You push your cuticles back towards the finger gently with the flattened end.
Step 5
Trim off any hangnails and loose dead skin around the nails with the cuticle trimmer or small nail scissors.
Step 6
File your nails to smooth out the edges with the thin emery board. Then use the thicker emery board over the top of your nails to buff the top layer of nail.
Step 7
Wash your hands again to remove the nail dust. Then apply a small amount of cuticle oil or lotion and massage in and around the nail beds. Remove any residue with a tissue or lint-free cloth.
Step 8
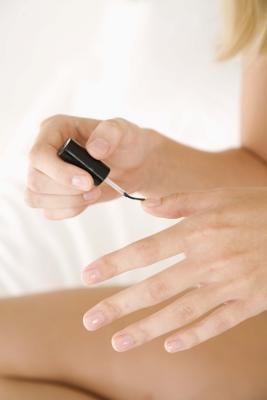
Put a layer of clear base coat nail polish on your nails before applying colored nail polish. If you wear nail polish on a regular basis, the nails may turn yellow over time if you do not use a base coat. Once the base coat has dried, apply the nail polish.


